Showing posts with label Gradient. Show all posts

Monday, 3 February 2014

Fan Brush Gradient

Fan brushes are the ones that come in packs of nail art brushes and nobody really uses. I decided to use one to create a sort of marbled gradient. I generously dotted four different colours up my nail and then swept the fan brush side to side moving from the top to the bottom of the nail.
I put down a white base to make the colours pop and if you do this you have to be really careful to get colour over the whole nail.
I will definitely be trying this again, although the clean up is a little traumatic- make sure you put tape on the sides of your fingers before you start! What do you think of this?

Monday, 27 January 2014

Farewell Pocket Money Polishes

The sad news from this weekend is that Charlie is retiring Pocket Money Polishes to move forward with other parts of her life. I love my collection of glitter toppers from her and will treasure them all the more now. I thought I'd do a little mani to show off two of mine.
The background gradient here is Sinful Colours Cinderella to Blue by You, this also has an added change from pink shimmer to green shimmer which would not photograph!
The two PMPs are Firework and Yellow Submarine. I love Yellow Submarine the most :)
And mattified, gradients always look good mattified. Farewell Pocket Money Polish, you will be missed.

Tuesday, 8 October 2013

Celtic Heart Knots

When I got my Bundle Monster 2013 Blogger Collection Plates I was really drawn to this full nail image of heart shaped celtic knots. I decided to stamp it over a gradient of A England polishes Ascalon, Lady of the Lake and Tristam. I think I've said before that the A England polishes gradient out really nicely and work together really well in most combinations. If you follow me on facebook or twitter you've probably seen this image already- I got a little arty with my shiny new plates. I have other pictures of this manicure but none that I like so much so I'm only going to show you this one plus some pictures of what I've been working on in my spare time.
Polish jewellery! I made this galaxy themed ring for a friends birthday (you are also getting a slightly blurry sneak peek at Thursday's nail art). 
It was a bit tricky to figure out how to do a galaxy backwards but I managed it :).
So there we have my ventures into nail polish jewellery. I'll keep you updated with any other designs I make.

Friday, 4 October 2013

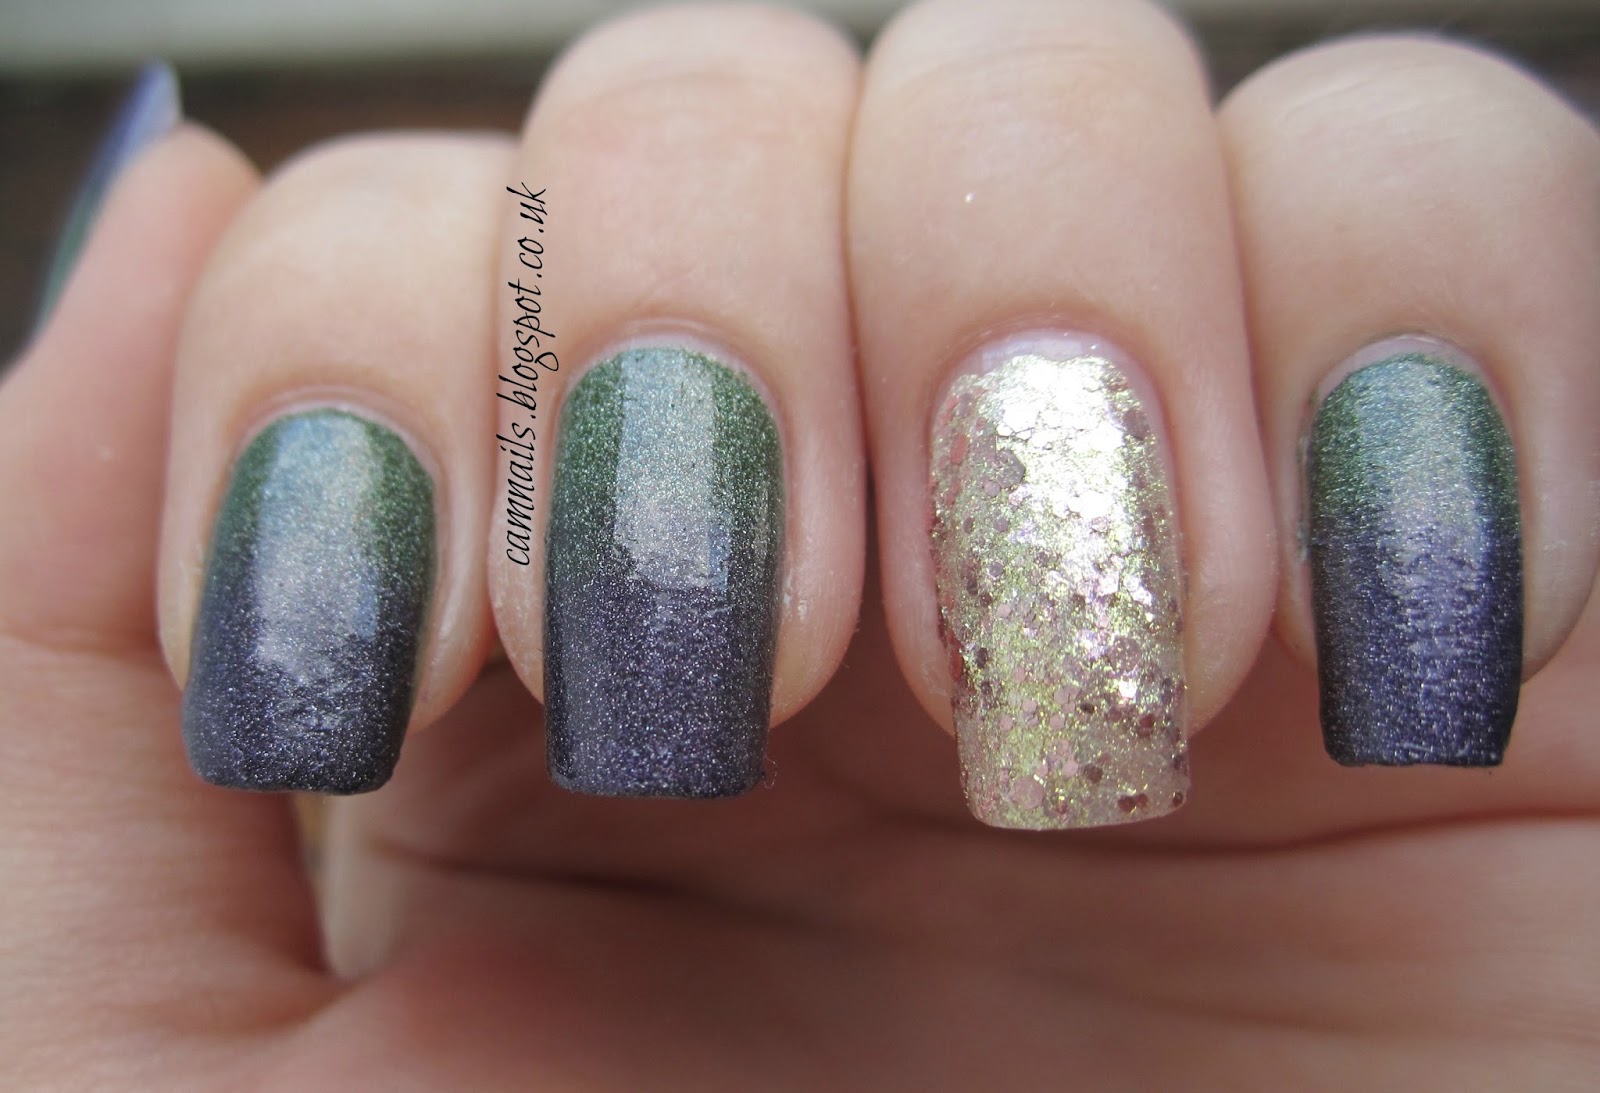
33DC Textured Gradient

I showed you Barry M Countess alone yesterday and for today I sponged another textured polish, OPI Alcatraz Rocks, over the tips of my nails then added studs from the Born Pretty Store which came in a wheel with a few different types of stud.
To apply the studs without changing the texture of the polish I used dotting tools to add a dot of clear polish where I wanted the stud then used the dotting tool while slightly tacky to pick up and place the studs. The studs are thin and lie close to the surface of my nails which I really like.
I've gone for some more arty shots that I normally do, I love the one below and the one above shows you just how thin these studs are.
I hope you like this :), tomorrow I'm going to be showing you a design I made with the awesome new bundle monster collection.

Friday, 27 September 2013

33DC Tape

I saw this done on another blog (although I can't remember whose) and I thought it looked really cool. Its a taped off gradient
holographic-lilypad-lacquer-emily-de-molly-tape-gradient-manicure-nail-art
I used Lilypad Lacquer Merlot for Me as the base, waited overnight for it to dry then applied my tape and sponged Emily de Molly Where Boys Fear to Tread over the top.
holographic-lilypad-lacquer-emily-de-molly-tape-gradient-manicure-nail-art
Thankfully the sun decided to come out to show off the magnificence of this look. It still looks good in the shade but different.
holographic-lilypad-lacquer-emily-de-molly-tape-gradient-manicure-nail-art
The 33 day challenge will resume on Monday and I have some exciting news on Monday as well :)

Monday, 16 September 2013

31DC Tribal

The base for these may look slightly familiar because I drew this pattern on top of my rainbow nails gradient. I didn't really have a plan for these, I just doodled as I went along.
31-day-challenge-rainbow-tribal-manicure
The colours in the gradient are NYC Chelsea Cherry, Lexington Yellow, Lavender Cupcake and Orly Blue Collar. The doodles are with my trusty Barry M black nail art pen.
31-day-challenge-rainbow-tribal-manicure
I enjoyed doing this design, but I was having some issues with my matte top coat which made the pen bleed a little. I like how the gradient with the pattern makes it look like each section is over a different colour. 

Sunday, 15 September 2013

31DC Delicate

I've had to do this prompt in the past and I hate it. I am not a delicate type of person. I chose to use the opportunity to try out a gradient idea I've had in my head for a while and then I doodled a sort of delicate pattern on top.
This gradient is made up of H&M Orange, OPI Flashbulb Fuchsia and OPI Tomorrow Never Dies. I then added Dragonglass Nails Hear me Roar over the top, although I did dilute this with some acetone as otherwise the gold colour covered the others in the gradient. These photos are with NYC Matte Me Crazy because I love the satiny finish it gives to the manicure.
This is a zentangle design (flying geese) and I like how it shows off some of the gradient and hides other parts
This diluted version of Hear me Roar is perfect for giving a glint of gold to this gradient and I love it, I can't wait to show you swatches of it, they are coming once I finish the 31 Day Challenge.
I love this so much, the gradient is just perfect and the glitter works really well with it :)

Tuesday, 10 September 2013

31DC Gradient

The A England polishes that I have make fantastic gradients, they all have the same finish and blend seamlessly into one another. Every polish in this post was bought secondhand or in a sale :).
I love this gradient because it looks like the colours of a duck and the glitter I used was called mallard.
She Walks in Beauty is very difficult to photograph, its a gold base with rose gold hexagons and this is two coats of it. It's much more attractive in real life than it looks here.
Purple and green is a fairly unusual combination but I really like it, the glitter works very well over the top :)

Monday, 9 September 2013

31DC Rainbow

I'm sure a lot of people will have done a gradient mani for this but I went for it anyway and I'm pretty pleased with myself because I only used four colours to make this manicure and my nails are long enough for this. The colours I used were NYC Chelsea Cherry, Lexington Yellow, Lavender Cupcake and Orly Blue Collar. This is my first time going into a gradient deliberately trying to mix different colours (green and orange).
I use a gradient technique where you put the colours on a plastic bag and mix them a little bit before picking them up with a sponge and dabbing onto your nails. I use makeup sponges from Primark (something ridiculous like 20 for £1!) I also painted my nails in white first as this reduces the amount of coats you need to get an even coverage. 
Clean up is one of the things that would put me off doing gradients so I thought I'd show you how I minimise the amount of mess created. First I tape off my fingers round the sides and across the cuticle (as close to the nail polish line as I can) then I sponge on my gradient and carefully remove the tape, you can see between 1 and 2 how much clean up this has saved. I then top coat the design and wait a few seconds for it to dry before cleaning up on my skin with a cotton bud dipped in nail polish remover followed by using a clean up brush to remove the nail polish very close to my nail and to create a nice line at the cuticle.
Bright gradients are one of the easiest ways to achieve high impact nail art but without the clean up they do have a tendency to look messy and unprofessional. I would recommend that you have a go but keep your sellotape and cotton buds handy.  On an unrelated note I have been approached by the Born Pretty Store to review products for them and I have also been given a 10% discount code to pass on to my readers :). My first products won't be coming for a couple of weeks but if you want any nail art supplies you can click on the picture below to be taken to their website, remember to use the code for 10% off:

Monday, 2 September 2013

31DC Orange

Orange, orange well I could paint on oranges but that's boring lets do something more exciting like waves of orange. I freehanded the waves with the polish brushes in Nails Inc Porchester Place, Essie Sunday Funday and H&M Orange. OK so the Essie is coral but who's checking ;)
I have to show you Porchester place alone, it's a gorgeous peachy orange shade. It was a little streaky on the first coat but perfect on the second.
So this nail art is fairly simple but we still have 29 days to go, I don't want to peak too soon. I also like designs where you use the brushes in the polish- less clean up required.
This mani makes orange wearable for me, I really like it.

Thursday, 8 August 2013

Pocket Money Polishes Ice Ice Baby Nail Art

A little while ago Pocket Money Polishes ran a quick competition asking for photos of their polishes looking great with unusual items. I decided to do a quick manicure to show off Ice Ice Baby. When I'm deciding which colour to show off a clear based glitter against I'll often do a few swatches against different colours, this polish looked great over black, yellow and pale blue. I'm also really into unusual gradients so I decided to do a gradient with these three colours.

Monday, 5 August 2013

Pocket Money Polishes I Want Candy Nail Art

I recently got my first order from Pocket Money Polishes. Charlie creates fabulous glitter toppers which are reasonably priced, they come in these cute 4ml bottles (just enough) and you can find them here. I Want Candy is part of the Glitter Babies collection and it has multiple different colours, sizes and shapes of matte neon glitter.

Friday, 26 July 2013

Day 26: Favourite Holiday OMD Challenge

I went for a general feeling of holiday inspired by Barcelona, sunsets and sangria. I really wanted to try this orange polish from H&M  and it is gorgeous, a deep shimmery red leaning orange. The colours in the gradient are another H&M polish and Barry M Mango
I just wish the gradients hadn't been quite so dominated by Mango.
Check out everyone else's holiday manis here.

Wednesday, 17 July 2013

Day 17: Gradient OMD Challenge

Day 17 of the challenge and I am feeling rather uninspired, I've already done multiple gradients in the challenge so I decided to do a greens gradient using three of my untried polishes.
I started by putting down two coats of Collection Hidden. Collection is a really low budget makeup range so I wasn't expecting much from this polish but it definitely surpassed my expectations, a gorgeous khaki green, opaque and self levelled in two coats. Good enough that it deserved its own picture alone, look how glossy it is without top coat!:
I gradiented it with Essie Mohito Madness and Barry M Superdrug Green limited edition. It took several coats to get to this level of opacity and then a lot of clean up because I forgot to sellotape my fingers before I started. I love this gradient it's like from dark to bright.
And then because I can't leave well enough alone I stamped a black grass pattern over the top which I think just completes this design :)
Remember to check out everyone else's gradient manis here.

Saturday, 6 July 2013

Day 6: Neon OMD Challenge

As I've mentioned before I'm currently running off an essentials only polish collection therefore the only true neon polish I have is an Orly yellow "Hook Up" so I decided to pair it with NYC "Greenwich Village" and Essie "Sunday Funday" to make a sunrise gradient. I then stamped palm trees on top in black from a Konad Plate.
The palm trees only had outlines of the leaves but to achieve the look I wanted I filled them in with my Barry M black nail art pen. This would not photograph well, it looks so much better in real life
I love this :) the black detailing removes a little of the in your face brightness making it much more wearable and much more interesting. Check out everyone else's neon manicures here.

Tuesday, 18 June 2013

June Tri-polish Challenge 1, floral stamping

I was not feeling the inspiration for the June colours of pink, purple and red at all. I only actually owned   2 pink polishes until recently. However, I happened to accidentally put NYC Chelsea Cherry, Greenwich Village and Lavender Cupcake near each other and an idea was born. I decided to gradient these together and then stamp over the top with Lavender Cupcake.

Thursday, 30 May 2013

Fourth May Tricolour Challenge

I know I said I was going to do a striping mani and I did but it came out so unappealing that I did another mani instead. So here we have a gradient with stamping. I don't think that I've actually done stamping over a gradient before but I definitely will be doing it again, it looks amazing. Lets just pretend that I intended the houndstooth on my little finger to be on the other diagonal rather than it being a mishap of stamping.

Friday, 24 May 2013

Forgotten Friday-Magnetic polish gradient

For my second forgotten friday post I will use three magnetic polishes which I have had for about a year- Barry M Magnetic Burgundy, Violet and Blue. It kind of feels like the nail blogging community in general has forgotten about magnetic polishes but I think they are the easiest way for non-nail art fanatics to create a consistent impressive nail art effect. I'm trying something a little different with these a gradient manicure. I had a scout around on the net to see if someone had worked out how to do this and lo and behold Dressed Up Digits had. I'm so excited to show you this manicure ;).

I sponged on the gradient using the Nailasauruses technique, I think this is three rounds of sponging and then top coated with a regular non fast dry topcoat one by one and used the starburst magnet to make the pattern. I then top coated again with Seche Vite.

Magnetic nail polish has a depth to it that other polishes just fail to achieve and I just love it. Being able to do a gradient with them  just pulls them to a whole other level. They are not the polishes I would reach for when I'm trying to do a freehand mani but for something a little bit different these are perfect


I love the red, it's very deep and sexy, the whole look came out a little gothic but I think the blue saves it from being too moody teenager esque. It's one of the ones where you can't stop looking at your hand

Tuesday, 7 May 2013

Turquiose Gradient

Turquoise is the best colour- as soon as you see it you think of tropical oceans. As it turns out I now have three shades of turquoise, enough to do a single colour. I sponged on the gradient with OPI Taylor Blue, Can't find my Czech book and NYC Raindrop (dark to light). I then topcoated with NYC Gramercy Glitz to add a little sparkle. If you skip below the jump there's a video of me dancing.

Wednesday, 10 April 2013

A saint's golden eye in the moonlight

A long title but I really wanted to use the titles of all these polishes. After water marbling yesterday I just wanted something simple so I went for a glitter gradient- classy and elegant.

In bright daylight (the sun was hiding)